1. Installing Minibian
The first step in our project is to install Minibian ("MINImal raspBIAN") - a slimmed down version of Raspbian.
We are going to work "headless" (without a display), so many of the packages installed with Raspbian are not needed. The default Raspbian installation comes with a desktop environment and a host of other packages. These just add to the unnecessary bloat when building as a WordPress server.
Download and write the disk image
Download the latest SD disk image for Minibian from http://sourceforge.net/projects/minibian/.
The file should have .tar.gz extension and have the date and the name (e.g. "wheezy", "jessie") of the release in its file name. I'm using 2015-02-18-wheezy-minibian.tar.gz, but you might get a newer version.
Booting and logging in
Boot the Raspberry Pi with the new SD card and get its IP address using this guide.
Minibian has sshd service running by default (port 22). Connect to your Raspberry Pi with PuTTY or other ssh client and log in:
username: root
password: raspberry
<!--
- Note: If you are using PuTTY, you will want to change the Configuration > Connection > Data > Terminal-type string to "xterm". By default this is "putty", which minibian does not understand very well.
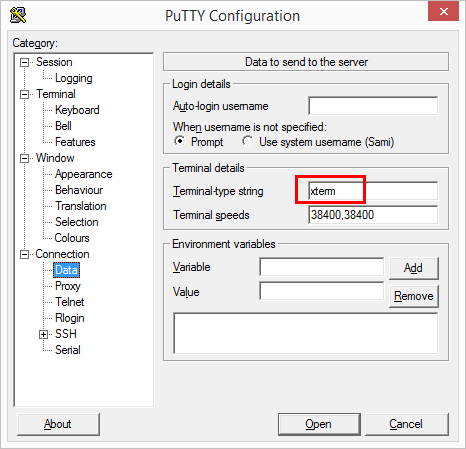
Changing Terminal-type string (PuTTY Release 0.64) -->
Changing root password
Changing the root password should be the very first thing you do after logging in. Do this with:
passwd
If you are going to be facing public Internet it's important that the password is strong.
Expanding the filesystem
The usual way to proceed with Raspberry Pi installation is to run raspi-config and use its menus to expand the filesystem. However, Minibian does not come with raspi-config installed, and it's not even needed.
- *It is possible to install raspi-config using ``` apt-get install raspi-config```, but that will install a lot of unnecessary packages so I don't recommend it.*
Instead, expand the filesystem using these instructions.
Upgrading to Stretch (optional)
If you want to upgrade to jessie, read chapter 2 now
Installing basic packages
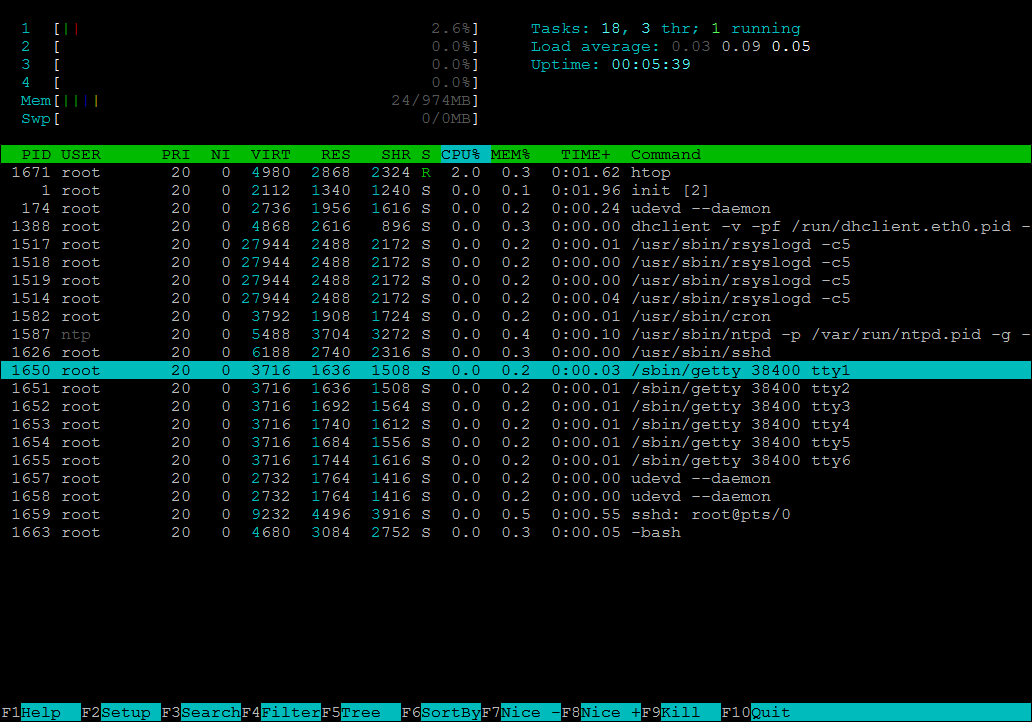
Minibian is VERY minimal. It uses around 300MB space on your SD card and idles using only 24MB ram. This is good since it means that the system is very clean and has few moving parts to manage. This also means that some of the commands we are used to in normal Raspian are not present. We will first update currently installed packages with:
apt-get update && apt-get upgrade
(you have already done this if you upgraded to jessie)
and then install packages we think we need, in my case:
apt-get install nano sudo file rsync htop locate
You can add any additional packages you feel necessary, but try to keep it as minimal as possible.
Overclocking (optional)
In normal Rasbpian installations raspi-config provides an easy way to overclock your Raspberry Pi. Since we decided not to install raspi-config we have to do overclocking manually, editing the config.txt
:
nano /boot/config.txt
Insert the following lines:
gpu_mem=16
arm_freq=1000
core_freq=500
sdram_freq=500
over_voltage=2
- WARNING: Do this only if you have Raspberry Pi 2
Save the file and reboot with reboot.
After logging in again, you can check the processor frequency with:
lscpu
Setting time
Set correct timezone
dpkg-reconfigure tzdata
sudo date -s "Apr 17 02:15"
Creating user "pi"
adduser pi
Add the new user ability to use sudo:
usermod -G sudo pi
Cleaning & backing up
If you want to have backup of you "clean" minibian, it's good idea to do it now. First we want to clean up a bit though:
apt-get autoremove
apt-get clean
Personal preferences
Log in as "pi"
nano ~/.bashrc
force_color_prompt=yes
alias ll='ls -la'